
In this blog, we investigate the publishing of a point cloud into Autodesk Construction Cloud (ACC) Docs. Docs allows this point cloud to be made available centrally to any of the Docs holders invited onto the ACC project.
The first thing you’ll need is access to the Autodesk construction cloud. If this is not managed for you, then you would need to establish a hub on one of various geographic locations. In South Africa we usually use the European Union because of information and privacy laws. For the rest of this blog, we will assume that either the cloud project is managed for you or that you contact Autodesk partner like Micrographics to assist you. You can access a trial for ACC Docs here.
The other requirement is for you to have access to Autodesk Recap Pro. You can also purchase this from Micrographics, or you can access a trial for Recap Pro here.
Consider the following folder structure:
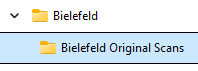
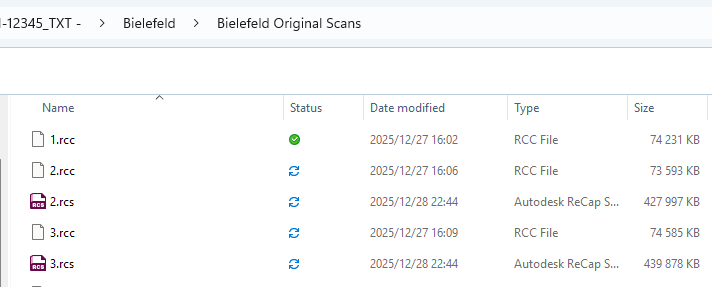
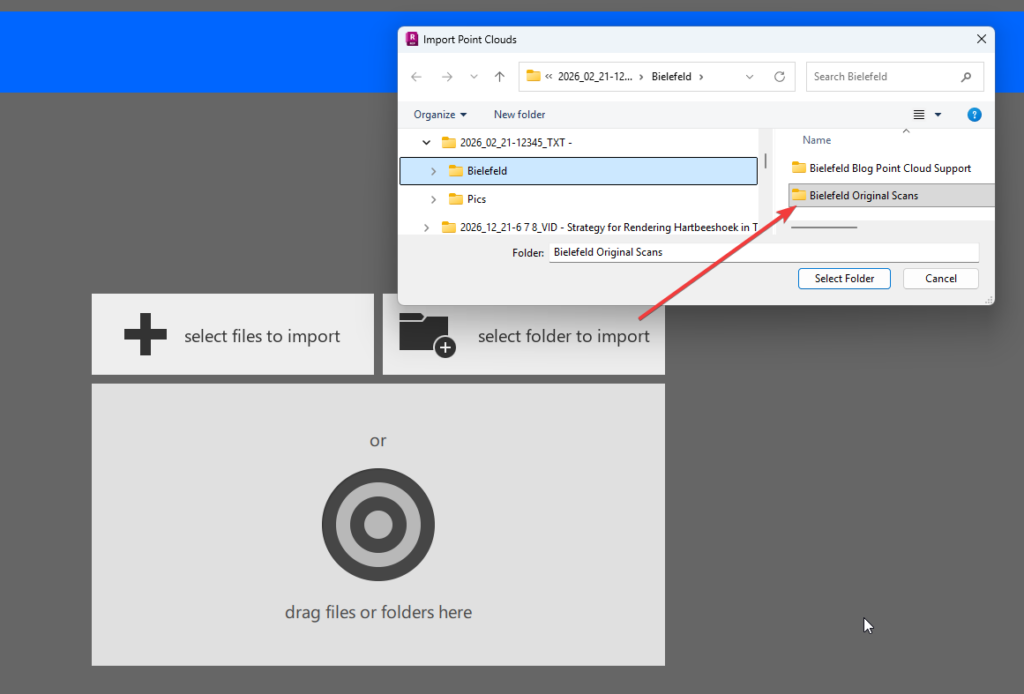
Bielefeld is the Project, and a folder is created to store the original scans, shown below:
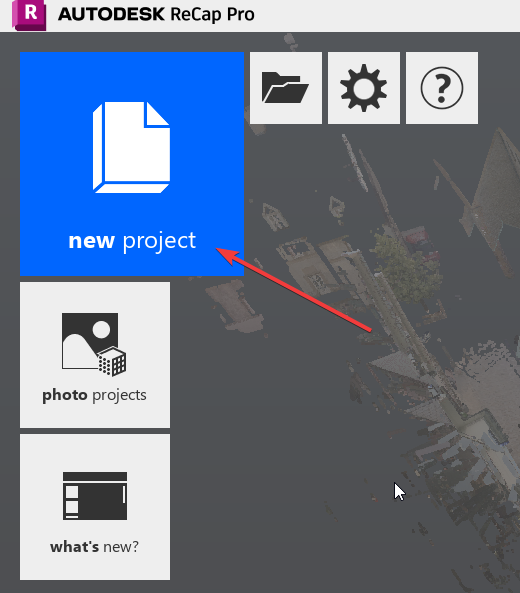
Open Recap Pro. Start a new project on your local hard drive.
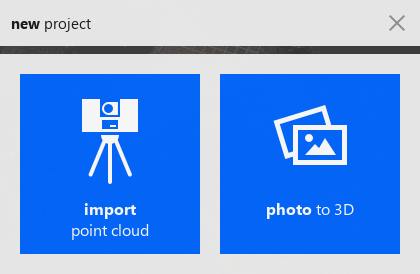
In this case we are not using photogrammetry, just lidar scans. Choose to “import point cloud”.
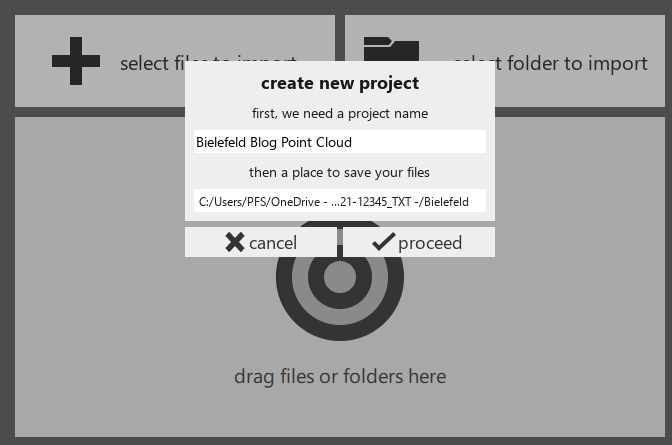
Give the project a name and choose a folder to place it in. I used the root folder and gave the project the name “Bielefeld Blog Point Cloud”.
Because all my point clouds is in one folder, I am choosing to “select folder to import”.
Help for the scan settings can be accessed here.
The filtering tab exposes various controls / settings that affect the import of your point clouds.
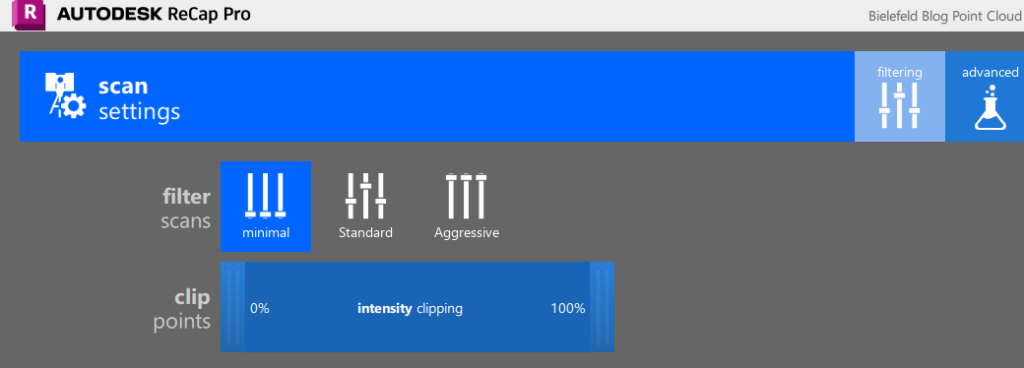
Filter Scans affects how stray points are excluded from the imported scan file. Minimal: Preserves virtually all points. Standard: Preserves most points, filtering only isolated points that do not appear to be part of the surface or object. Aggressive: Preserves only points that are part of a surface or object.
Clip Points affects how stray points are excluded from the imported scan file. Range Clipping: Minimum and maximum distance from the scanner at which points should be included. Intensity Clipping: determines the range of intensity (reflection) values to allow for included points.
The advanced tab exposes various controls / settings that affect the import of your point clouds. In essence, you need to strike a balance between the number of points and the detail level to keep the size of the project within reasonable limits.
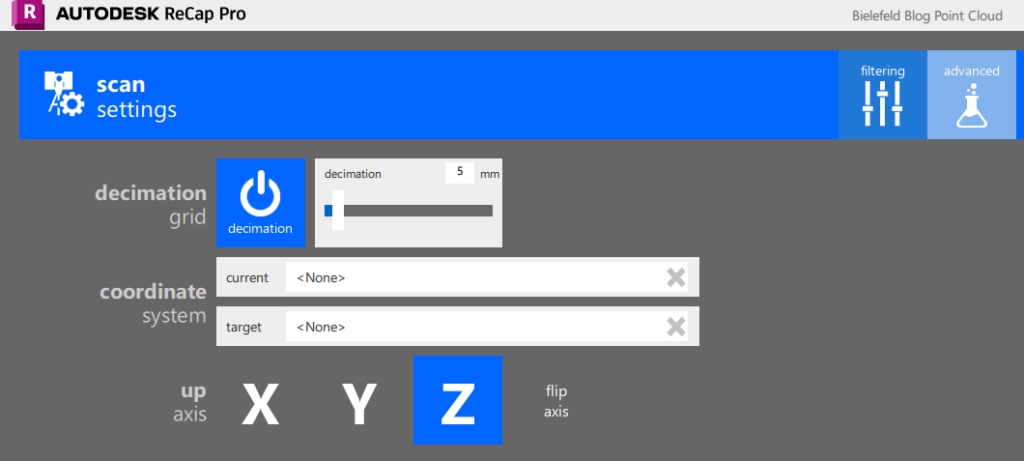
Decimation Grid specifies the smallest cubic volume that a single point can occupy. Drag the slider to specify a value that represents the cubic volume of a single point in millimeters. Lower values increase the number of points that are imported.
Coordinate System sets an EPSG coordinate and optionally convert to another.
Up Axis specifies which axis is considered “up”.
Next, click on “Import Files” and then continue to the registration of the scans. Registration refers to making sure the scans are correctly oriented with respect to each other. Scans can be structured or unstructured.
Structured laser scans are high-accuracy, tripod-based, panoramic point clouds with known origins and underlying angular grids (e.g., .fls, .e57), ideal for detailed modelling.
Unstructured scans are unordered, “floating” point clouds (e.g., .las, mobile/drone data) lacking individual scan positions, commonly used for rapid, large-scale data, and are generally faster to capture.
Here is the link to Register Unstructured Scans (Note: you must have at least one structured scan to be able to manually register other scans manually with respect to it).
You can choose to auto register your scans, and you can also skip registration altogether (do this if you know the scans are already registered).
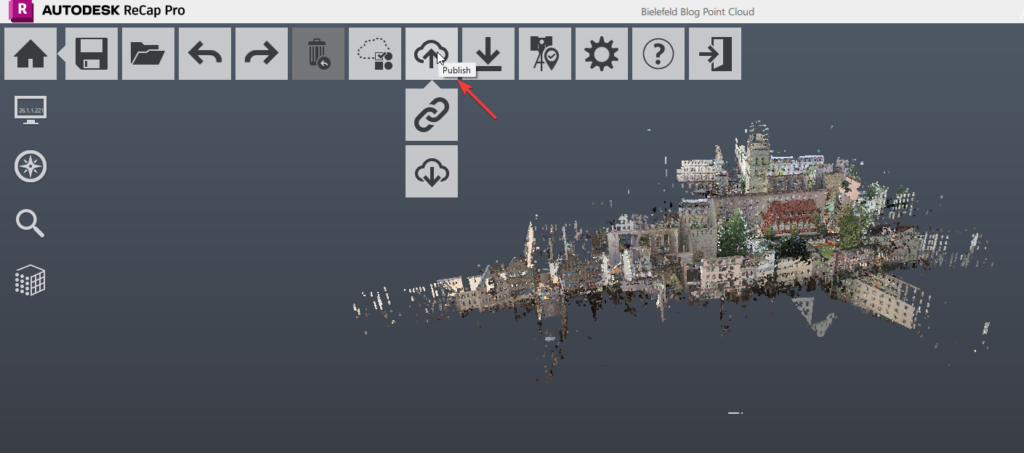
Once the scans are registered, you may go ahead and publish the project to the Autodesk Construction Cloud project. The .RCP file is created, and the RCS files are copied to the support folder. Be sure you use the correct name. Although you can rename the folder for the project on ACC, the original name will not allow itself to be used for another project later.
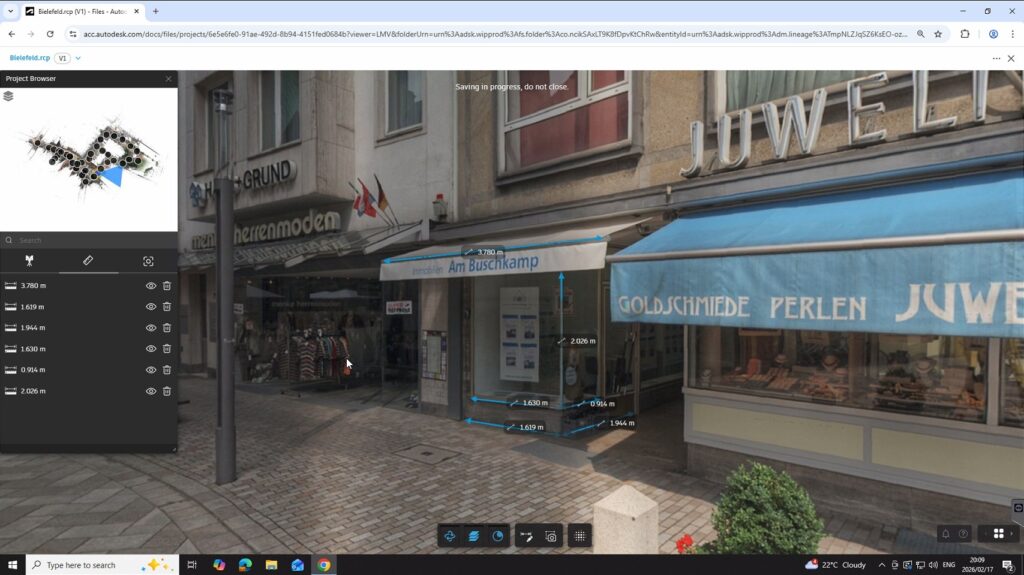
After publishing, you can open the file on ACC directly. Just click on the file name and it opens in the Recap Pro viewer on the browser (either Chrome or Edge) automatically.

The viewer is a powerful tool to navigate, measure and inspect the point cloud. New capabilities allow you to create point cloud groups and to work collaboratively. Changes are synced to Recap Pro if you open the project. You can also measure the cloud with the real view overlayed.
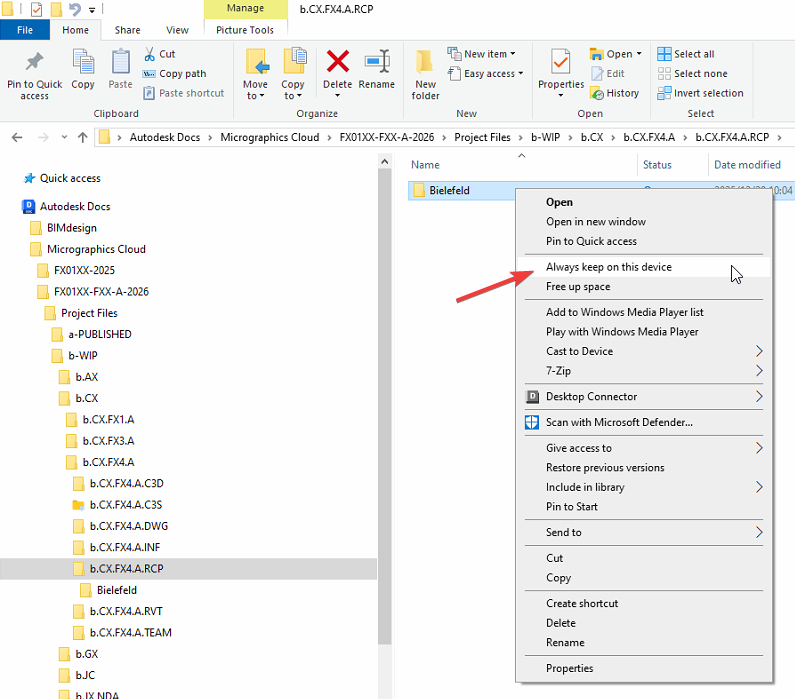
You may optionally permanently keep the point cloud on your hard drive. This could be because you want to carry on editing in Recap Pro or because you are linking the point cloud into other software directly. The recently added capability to convert point clouds into meshes has somewhat reduced the need for the point clouds to be permanently available on your hard drive, however there are still situations in which you need to do this. In that case, it is not unheard of for 50 GB of data to have to be downloaded into your hard drive if you have not worked with the file in 36 hours (files will unload from your hard drive after 36 hours unless they are permanently kept on your hard drive). To keep the data permanently synchronized onto your device, right mouse click on the files or folders and “Always keep on this device”.
Point clouds are becoming indispensable on projects in the modern age, be that architectural, civil or mechanical. Putting them on the Autodesk Construction Cloud is a great way to ensure everybody has access at a central location. Work with them collaboratively.
If you need help adopting the AEC Collection or the Autodesk Construction Cloud in your practice or you are looking to invest in hardware, please contact Micrographics so that we may be of assistance.

