
Typically, a railing would be used on a staircase or a ramp where necessary, the railing tool has been designed to host to these elements with relative ease. However, the railing tool can also host to walls, floors and toposolids. Similarly to ramps, if the walls or floors are sloped, then the railing will follow that path. As with the walls, when attaching the railing to the Toposolid, the railing follows the slopes of the toposolid. This is perfect for landscaping projects.
To use the landscaping tool, navigate to the Architecture tab and select Railing under the Circulation ribbon. You will then have the option to select your placement type: either by sketch or by host element, such as an existing stair or ramp.
Stair & Ramp hosts
When hosting the railing on the stair or ramp, the railing will automatically be placed along the edges of the elements following their path and elevation. If you want to make adjustments to the railing path, you can select it and select ‘edit path’; this will allow you to edit the extent of the railing. When the railing needs to extend past the stairs as per building regulation compliance, this function gives you the ability to do that.


Floors and sloped slabs
With floors and sloped slabs, railings can be sketched along the perimeter of elements or wherever it might be required. With the railing being hosted to the floor or a sloped slab, whenever the height or the slope of these elements adjust, the railings will adjust accordingly. A good place for this would be on external walkways made up of sloped slabs.
Walls
Similarly, railings can be hosted on top of walls. As with the other elements, if side profile of the wall is edited and slopes/steps are introduced, the railing will follow this path. With the wall as the host, you can create guard rails along balconies with upstands or on parapet upstands.

Toposolids
Creating a railing for the landscape, it can easily be attached to the toposolid. The railing will follow the path of the terrain and is perfect for landscaping and site design. This would be perfect for pedestrian walkways or where areas need to be fenced off.
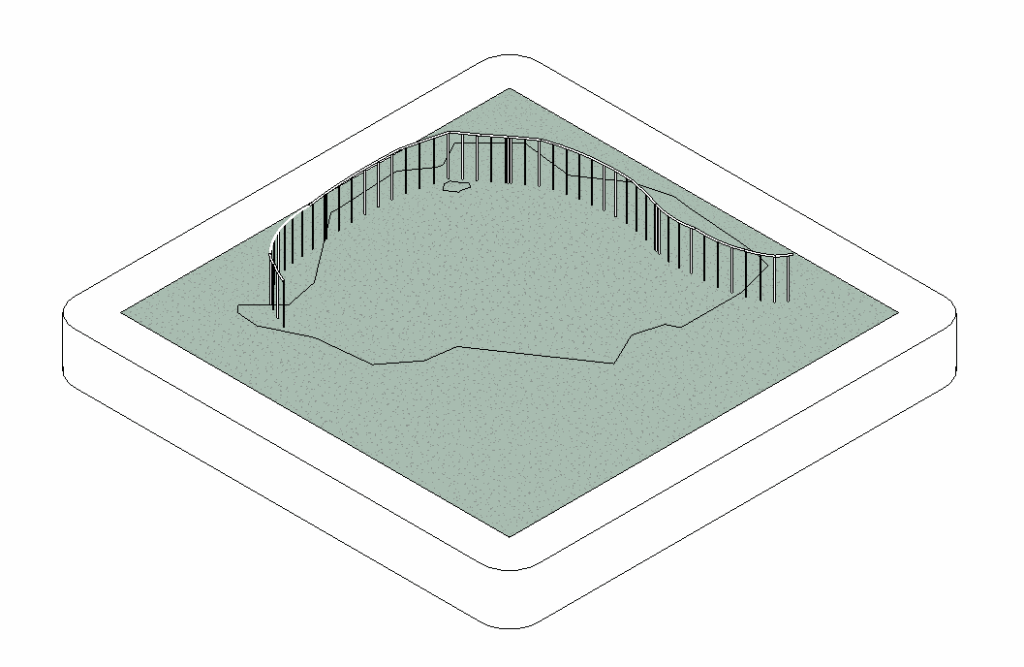
If you want to take it a step further, customising the top rail and baluster panel will allow you to create a typical external boundary wall.

